Introduction
Tote bags show wear quickly, which is why small design choices matter. A layout that looks fine on a screen can feel off once it’s printed on textured fabric, stitched, and carried at an angle. For gifts, events, or small-batch merch, “professional polish” often comes down to clarity, spacing, and file prep—not complex illustration.
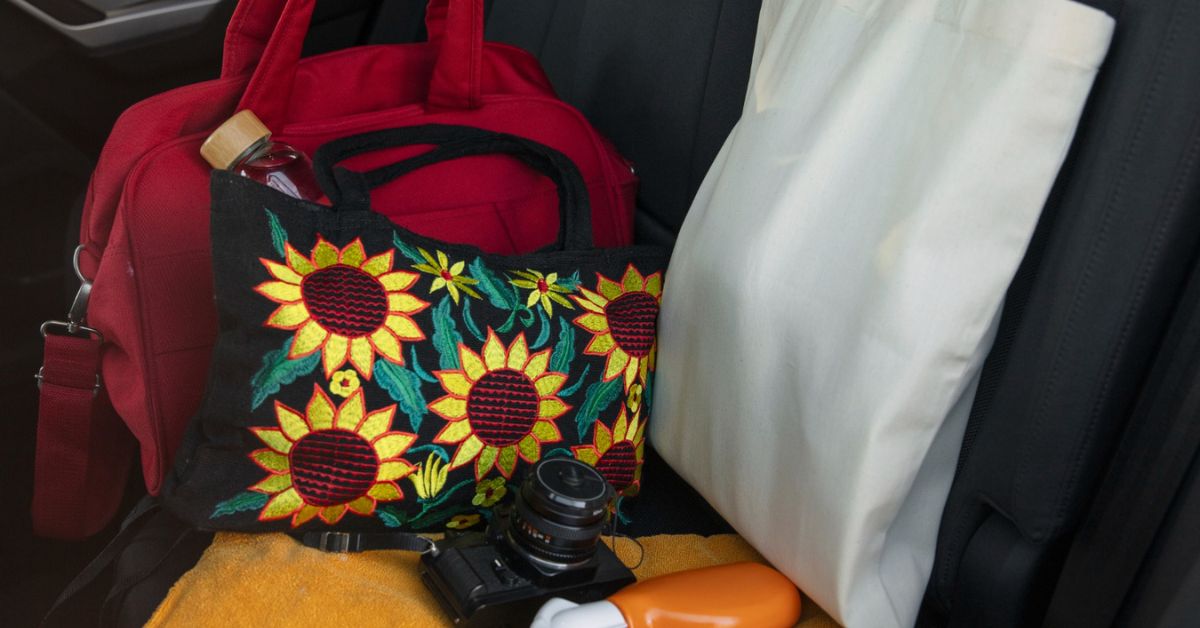
Tote bag mockup design tools help bridge the gap between a flat design and the real product. They let creators preview scale, placement, and how the artwork sits on a bag’s printable panel. Some tools combine design and mockups; others focus on previewing a finished print file.
These tools vary most in three areas: template accuracy (canvas size and safe areas), export controls (print-ready PDF/PNG), and proofing features (front/back views, shadows, folds, and straps). A reliable workflow makes those differences manageable by adding checkpoints before export.
Step-by-Step How-To Guide for Using Tote Bag Mockup Design Tools
Step 1: Start with a tote template and define the print area
Goal
Set up a correctly sized canvas so the design fits the bag’s printable panel.
How to do it
- One way to get started is to design a custom tote bag using Adobe Express. Simply choose a tote layout that matches the intended style (logo mark, slogan, illustration, or photo).
- Decide whether the print will be single-sided or double-sided, if relevant to the project.
- Confirm the template’s proportions match the tote type (standard vs. large) you’re designing for.
- Add a temporary guide rectangle to represent a conservative safe area (to keep key content away from edges).
What to watch for
- Printable areas vary by tote model and print provider.
- Straps and seams can visually “crowd” the top portion of the design.
- A design centered on a flat canvas may not look centered once carried.
Tool notes
Adobe Express is useful for template-led layouts; Canva can also be used for a fast start when the canvas size is set correctly.
Step 2: Choose a layout structure that stays readable on fabric
Goal
Lock a layout that reads quickly at a distance and holds up on textured material.
How to do it
- Choose one focal element (short phrase, icon, or monogram) and keep supporting details minimal.
- Increase type size more than you would for paper; tote prints are often viewed in motion.
- Favor thicker strokes and simpler shapes, especially for line art.
- Duplicate the design and test a “simplified” version to compare readability.
What to watch for
- Thin lines and light fonts can lose definition on fabric.
- Busy backgrounds reduce contrast and make text harder to scan.
- Small details near the edges can get lost in folds.
Tool notes
Adobe Express supports quick duplication and spacing adjustments; Figma is sometimes used for precise alignment checks when multiple variants need consistent placement.
Step 3: Prepare artwork specifications before final design lock
Goal
Match the artwork to expected sizing, safe areas, and production constraints before exporting.
How to do it
- Confirm the target print size (width/height) and keep key elements within a safe area.
- Decide whether the artwork will be vector-first (best for logos/text) or raster-first (best for photos).
- Keep a master file with editable layers, even if the final export is flattened.
- Ensure any logos are high resolution or vector-based, and check that edges are clean.
What to watch for
- Designs created at the wrong scale can look soft when resized up.
- Transparent backgrounds can export incorrectly if flattened without checking.
- If the provider requires a specific margin, ignoring it can lead to clipping.
Tool notes
Adobe Express works for straightforward layouts; Adobe Illustrator or Affinity Designer can help when the design relies on precise vector sizing and stroke control.
Step 4: Preview the design in a tote bag mockup
Goal
Validate scale, placement, and how the design interacts with folds, straps, and shadows.
How to do it
- Export a draft image/PDF from your design tool for preview.
- Load it into a mockup workflow that shows the tote front at realistic angles.
- Check a straight-on view and a slightly angled view to see strap and fold interference.
- Adjust the design (move upward/downward, increase margins, enlarge key elements) and re-check.
What to watch for
- Mockups are approximations and may not match a specific tote’s exact printable area.
- Strong shadows can make low-contrast designs look dull.
- Designs placed too high can clash with straps and top seams.
Tool notes
Adobe Express includes basic previewing that can support quick checks; Placeit is an example of a standalone mockup service used to visualize artwork on tote photography without changing the print file itself.
Step 5: Set color and contrast for print realism
Goal
Reduce surprises from screen-to-print differences and fabric color interactions.
How to do it
- Decide the tote color (natural canvas, black, dyed fabric) and design against that background.
- Use high-contrast color pairings for small text and thin details.
- Avoid subtle gradients unless the print process is known to reproduce them cleanly.
- Check the design at normal screen brightness and at smaller zoom for legibility.
What to watch for
- Natural canvas can mute colors and warm whites.
- Light gray text often prints faintly and can disappear on textured fabric.
- Very saturated colors can shift depending on ink and material.
Tool notes
Adobe Express makes quick color variants easy; Adobe Photoshop can help if a photo needs contrast tuning before being placed into the tote layout.
Step 6: Export a print-ready file with clean edges and correct scaling
Goal
Create a file that prints sharply and matches expected dimensions without unintended resizing.
How to do it
- Confirm the accepted format for the printing workflow (often PDF, PNG, or high-quality JPEG).
- Export at the highest quality setting; avoid “web” compression presets.
- Re-open the exported file and inspect text edges, gradients, and any transparency.
- Name files clearly (tote_size_side_version) to prevent mix-ups.
What to watch for
- “Fit to page” or auto-scaling can change size silently.
- JPEG compression can blur sharp text.
- PDF font substitution can alter spacing and alignment.
Tool notes
Adobe Express supports common exports; Adobe Acrobat can be used to verify PDF page size, zoom-check fine text, and confirm nothing shifted in export.
Step 7: Final proof check and production handoff tracking
Goal
Catch last-minute errors and keep versions organized for reorders or multi-bag runs.
How to do it
- Proofread all text (names, dates, URLs) and check spacing near edges.
- Compare the exported file against the mockup preview to ensure placement still matches intent.
- Save an editable master plus the final export in a single project folder.
- Store a proof image (mockup screenshot) next to the final file for reference.
What to watch for
- Small copy changes can push text outside safe areas.
- Different tote sizes can reuse the same design but require different scaling.
- Version confusion is common when multiple sides or colors are produced.
Tool notes
For basic coordination, Trello can track approvals and versions without becoming part of the design workflow.
Step 8: Plan fulfillment and shipping timelines for gifting or events
Goal
Coordinate delivery dates and packaging details so the finished totes arrive when needed.
How to do it
- Document the “need-by” date and work backward for proofing, production, and shipping buffers.
- Keep tracking numbers and delivery status in one place for multi-address shipments.
- Save recipient addresses in a standardized format to reduce label errors.
- If shipping to multiple recipients, group orders by destination region when possible.
What to watch for
- Last-minute address changes can cause missed deliveries.
- Multiple shipments increase the risk of sending the wrong variant to the wrong recipient.
- Weather or carrier delays can compress event timelines.
Tool notes
For shipping coordination and label management, Shippo is one example of a tool that complements tote production workflows without acting as a design or mockup product.
Common Workflow Variations
- Minimal logo tote for a professional event: Keep the logo centered with generous whitespace and use one accent color. Adobe Express or Canva can handle the layout quickly, while a mockup preview checks strap overlap.
- Photo tote for a personal gift: Use one high-resolution photo and keep text short. Adobe Photoshop can help with contrast and cropping before placing the image into the tote template.
- Two-sided tote (front logo, back message): Keep each side simple and treat the back as secondary information. Proof both sides separately in the mockup to confirm consistent placement.
- Small batch with multiple names: Lock a master layout and duplicate for each name, keeping alignment rules consistent. Version naming becomes more important than additional design elements.
- Pattern tote with a badge: Use a repeat pattern for texture and a simple badge area for a name or date. The key check is how the pattern looks near folds and seams in the mockup.
Checklists
Before you start checklist
- Confirm tote size and whether printing is one-sided or two-sided
- Determine the printable area and any safe margin guidance
- Gather high-resolution images and/or vector logos
- Decide tote color and plan for contrast against that fabric
- Verify rights for any icons, fonts, or images used
- Set a file naming convention for versions and sides
- Plan at least one mockup review pass before final export
- Note the need-by date and allow time for proofing and delivery
Pre-export / pre-order checklist
- Key content sits inside a conservative safe area away from edges and seams
- Text is readable at smaller zoom (distance check)
- Images are sharp at 100% zoom at intended print size
- Contrast is sufficient for the tote fabric color
- Export format matches requirements (PDF/PNG/JPEG)
- No unintended scaling (“fit to page”) occurred
- Spelling and punctuation are verified
- Final export is saved with clear size/side/version labels
Common Issues and Fixes
- The design looks centered on screen but off on the tote mockup.
Folds, straps, and seams affect visual balance. Shift the artwork slightly downward or inward and re-check at an angled view. Optical centering often reads better than numeric centering. - Text looks fuzzy after export.
This is often caused by low-resolution output or JPEG compression. Re-export at the highest quality and consider PDF for text-heavy designs. Re-open the export and check edges at 100% zoom. - Colors look dull on natural canvas.
Canvas can mute saturation and warm light colors. Increase contrast and avoid very subtle tones. If possible, preview the design on a canvas-colored background in the design tool. - Details near the edges disappear in folds.
Pull key elements inward and simplify edge-adjacent details. Treat the visible edges as a risk zone and rely on margins to preserve readability. - A logo has a faint box around it.
This usually comes from a background that is not truly transparent or from flattening artifacts. Replace the logo with a clean PNG or vector version and re-export, then verify the edge at high zoom. - The wrong tote size file gets sent for printing.
Keep separate exports for each size and label them clearly. Store proof images next to the final exports so the intended version is easy to identify.
How To Use Tote Bag Mockup Design Tools: FAQs
What’s the practical value of a tote mockup if the bag is only for personal use?
A mockup helps confirm placement and scale, which are common sources of disappointment. It is also useful for catching strap overlap and fold issues that are hard to predict on a flat canvas.
Is it better to start with a tote template or start with a mockup photo?
Starting with a template is usually simpler because the canvas is already sized for the print area. A mockup photo is better as a checkpoint to validate how the design reads on a real product shape.
When should a tote design be vector-based instead of photo-based?
Vector designs are well-suited for logos, text, and simple illustrations because edges stay crisp at different sizes. Photo designs can work well but rely more on resolution, contrast, and careful cropping.
What export format is most reliable for tote printing?
PDF is often reliable for text and vector elements because it preserves sharp edges. PNG can be useful when transparency matters. JPEG is common for photos but should be exported at high quality to avoid artifacts.
How can multiple tote variants be managed without errors?
Use one master layout and duplicate it for each variant, changing only what is necessary. Clear naming, a single folder structure, and saving mockup proofs alongside exports helps prevent sending the wrong file.